— mike's condo – painted interiors —
Click thumbnail to view larger pic. Click left/right side to display previous/next pic. Click outside pic or on [X] icon to close.
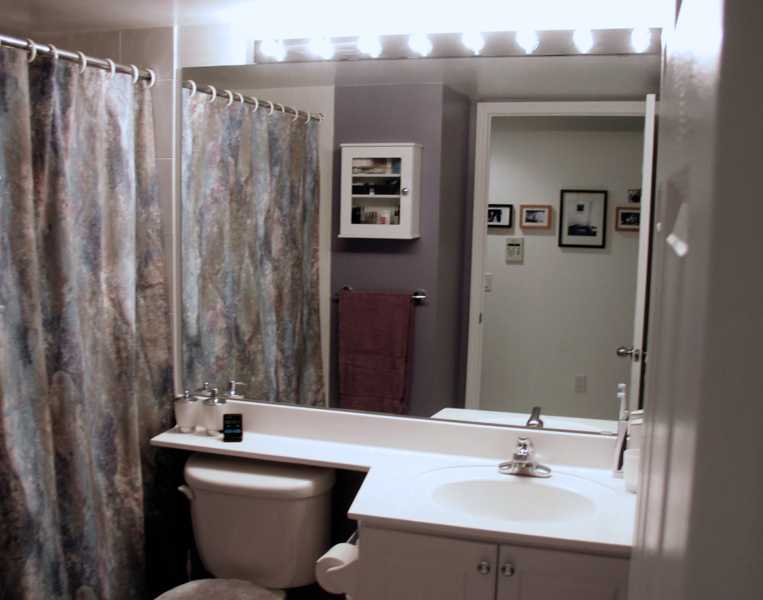 Bathroom
This was the first room I painted, 2005-03, on the slow changeover of the whole condo from the builder's white. The colour is a greyish purple. See below for pics after a small renovation in 2011.
 Hallway
Next I painted the living room and hallway, 2005-07. This shows the hall looking back at my front door, and my photo gallery, which is highlighted by the recessed lighting I had installed. The colour is a pale blue, with the ceiling bulkhead a lighter shade.
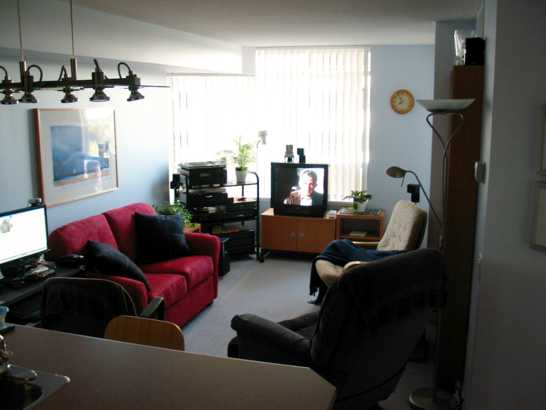 Living Room – Left Side
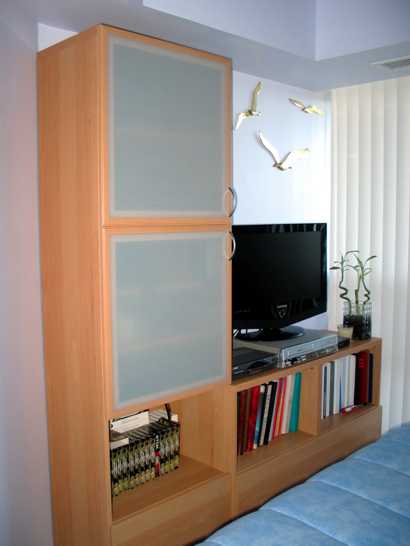
The left side of the living room, from end of kitchen counter. The dining area is supposed to be where the computer is, but would make the living space too small if used that way. Colour is the same light blue as the hallway, with bulkhead a lighter shade.
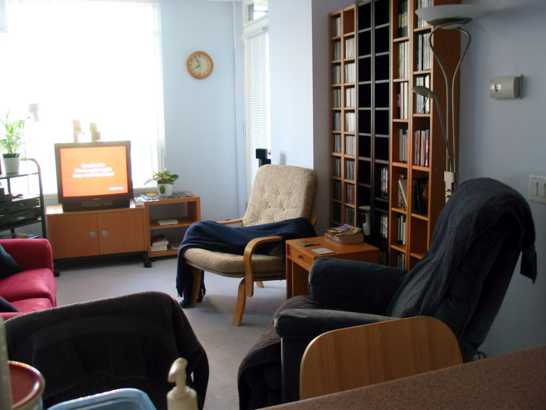 Living Room – Right Side
Carpet is a very light grey throughout. Some day I'll replace it with hardwood.
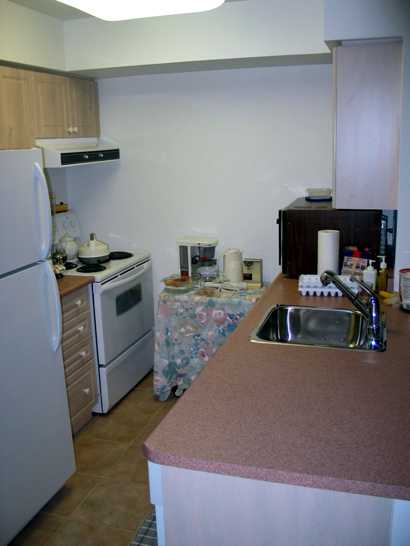 Kitchen – Before
Taken not long after I moved in, before the lighting renovation and painting. Note the fluorescent lighting fixture. Soon after I ditched the cart and put the stuff on it away.
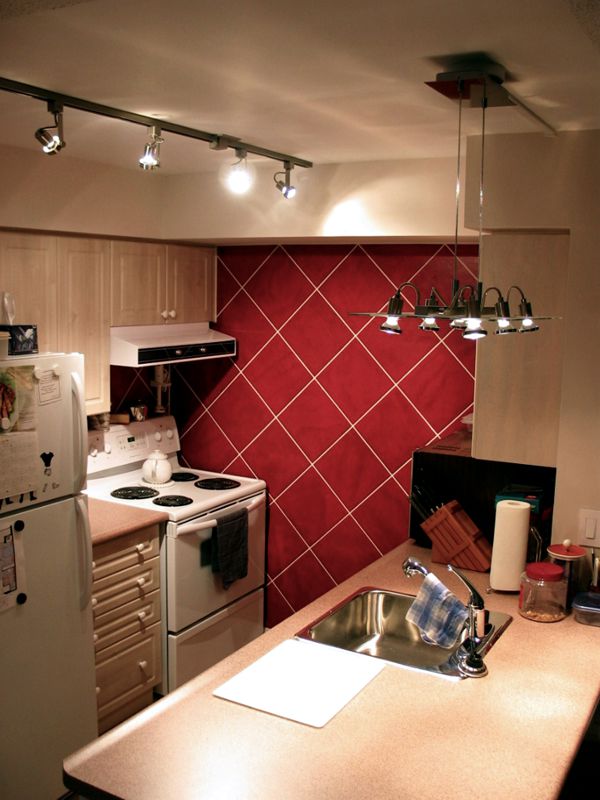 Finished Kitchen 1
This is after the lighting renovations and painting, 2005-09 and 2005-11. The wall "tiles" are actually painted on, and a deeper red than what probably shows on your monitor. Tiles go all around the backsplash areas. The other wall parts are a light tan colour, trying to match the cupboards. This shot shows the track lighting and cool fixture I had hung over the sink/breakfast bar.
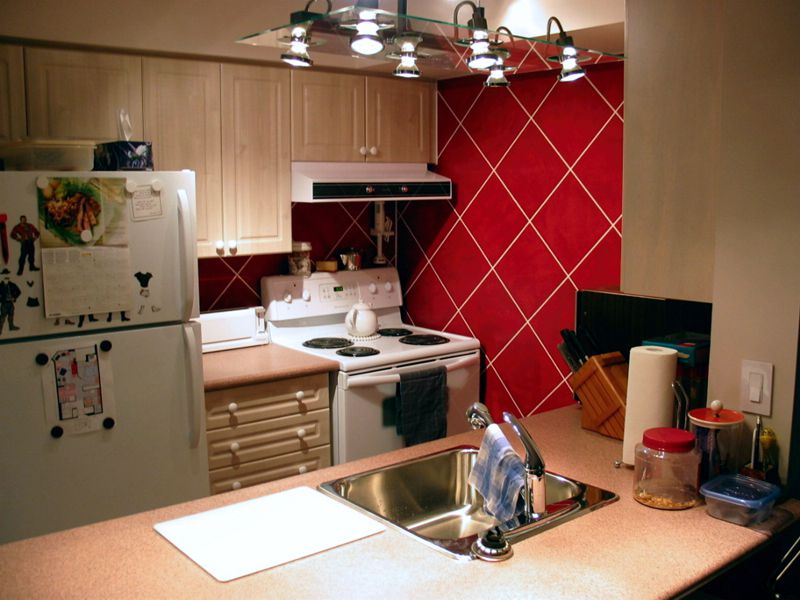 Finished Kitchen 2
From a different angle.
 Den
DenAfter the kitchen was done, I tackled the den, 2006-04. The colour is "pottery clay," a reddish-tan colour very much like unfired pottery clay. This time I left the underside of the bulkhead white, and painted the vertical side the wall colour.
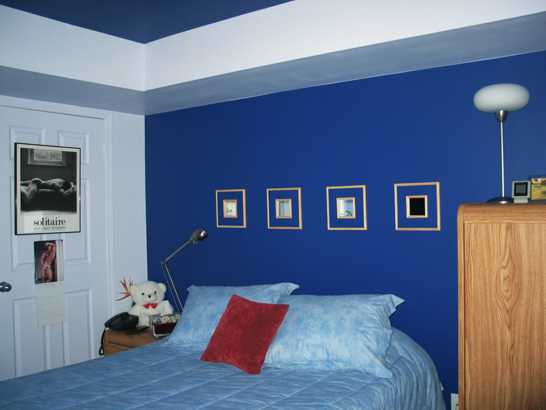 Bedroom – Back Wall
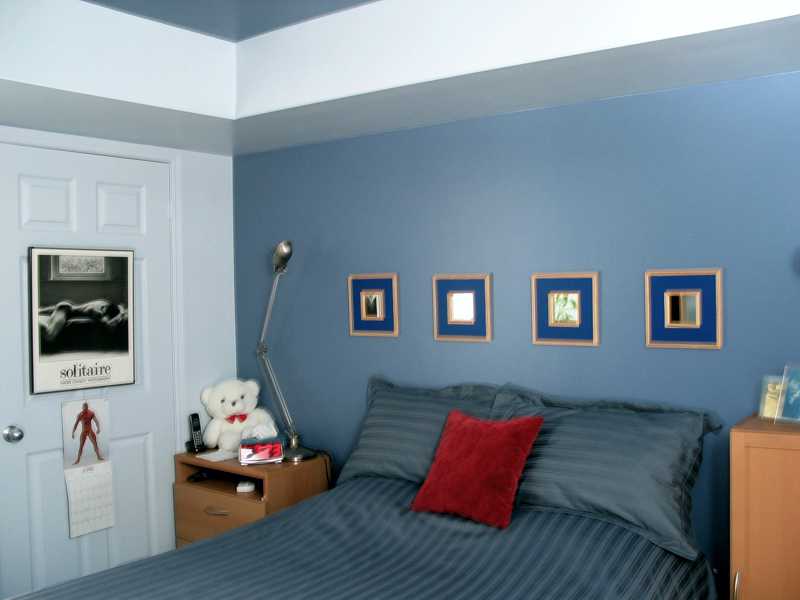
The last room to be painted, 2006-09. I decided to try removing the stippled treatment on the ceiling, which was a bit easier than I expected. I used spackle compound to smooth out the concrete imperfections, leaving a bit of texture rather than attempting a smooth finish. Because that ceiling bit is surrounded by wide bulkheads, I thought it would be neat to make the "hole" a feature, and painted the ceiling the same dark blue as the back wall. The rest of the walls and bulkheads, and the furnace closet door shown, are a light blue with a touch of red to make it warmer.
 Bedroom –
Left Side
Bedroom –
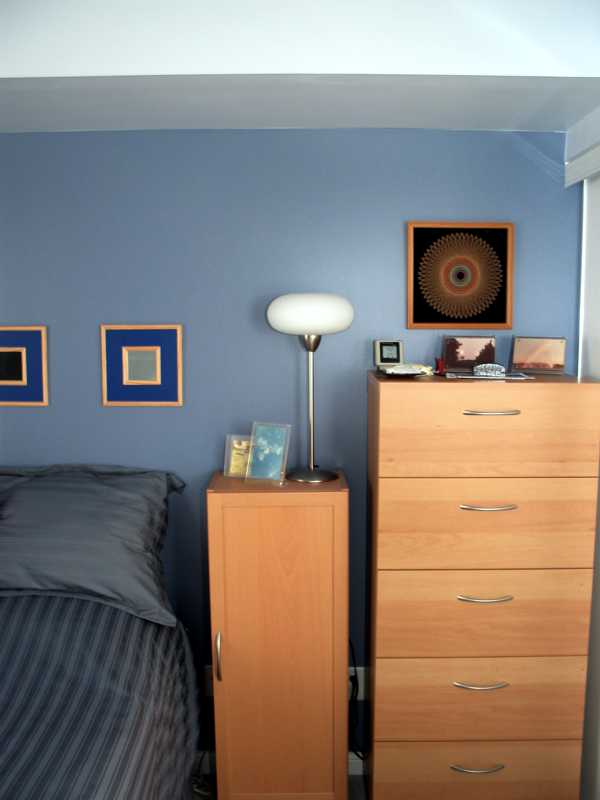
Left SideShowing the area at the foot of the bed and the window, which looks out onto the balcony. Note the bulkhead as it angles to follow the short angled wall, which is just off left.
 Bedroom – Back Wall with New Colours, 2011-06
Wanted more neutral colours to match this new, and future bedding sets. Left the original accent colour on the mirrors.
 Bedroom – Right Part of Back Wall
Showing farther to the right along the back wall.
 Bathroom – Small Renovation, 2011-09
Ordered a new, larger cabinet on sale, which I wanted for over the toilet. So the big mirror had to come down, revealing a big hole under the lighting fixture, and lots of "mirror tape" residue. Since the wall needed patching, I decided to buy the new fixture I had spotted in Home Depot months before. But the primer and paint put over the black tape residue bubbled, so I had to cut away top layers of the wallboard and repatch, then repaint. Here is the finished room, with the new mirror, fixture, and cabinet on the patched and painted wall. Compare this to the "before" pic at the top of the page.
 Bathroom – Small Renovation, New Lights
While working with the wiring to install the new fixture, I decided to add a pot light in the centre of the room, and one in the shower. The initial bulbs were too bright, when compared to the filtered light from the main fixture. So I bought lower watt equivalent LED replacements. These are still a bit too bright, but at least they use very little electricity.
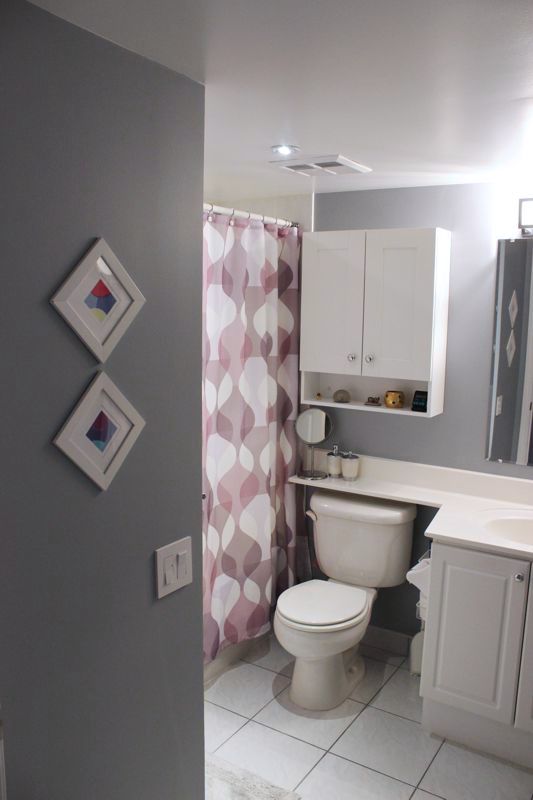 Bathroom – Grey Paint, 2013-05
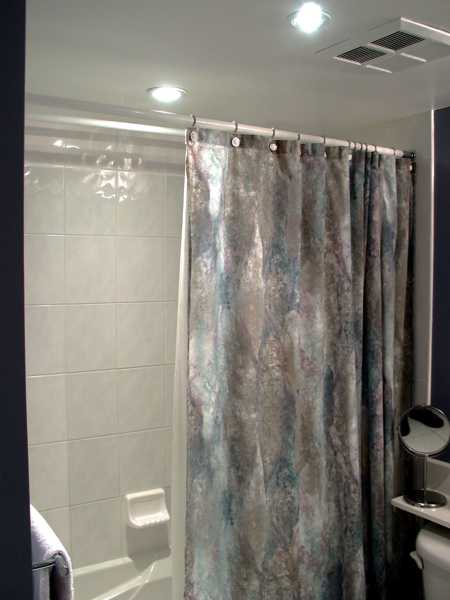
Just a paint refresh with a more neutral grey colour, to make it easier to buy towels that match. Added a new shower curtain.

© Copyright: Mike W., mdubca.info owner. All rights reserved.